Have you been longing for an acrylic strength and natural looking nails? Gel nail polish is the perfect sort of manicure to try. You can do it in the salon or at home as long as you have all the equipment required. Once you have all the equipment, you need to get to the real game. Knowing how to do gel nails is an art that you will always enjoy. The ease of gel application and the elegant after look will always blow off your mind.
Filing and Shaping the Nails
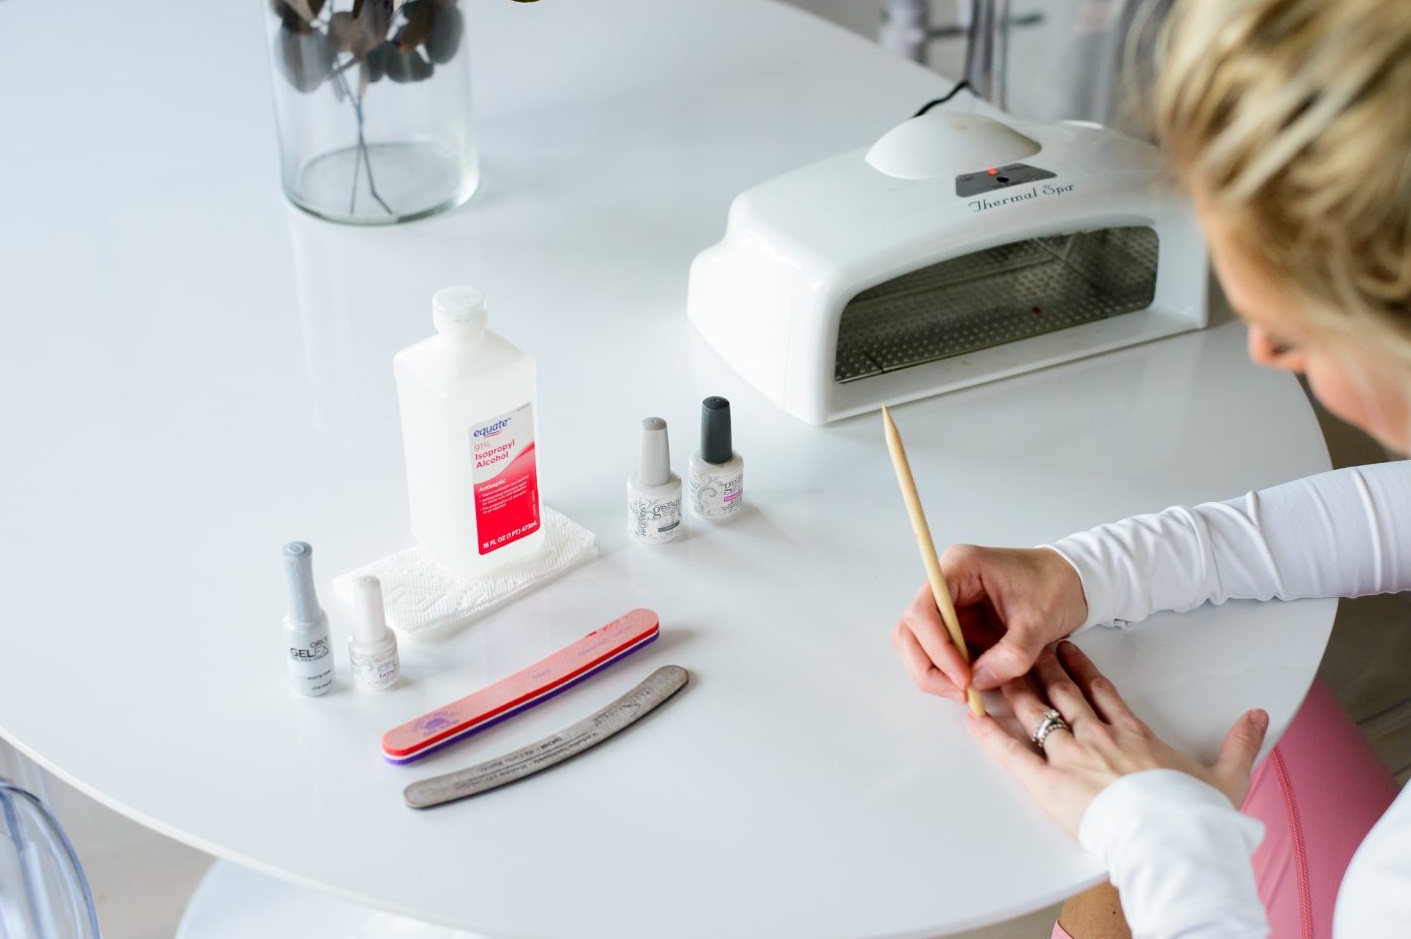
The initial process in doing DND gel is filing and shaping the nails. This is essential in order for you to get the most elegant looking and stunning nails. You should start with plain nails after you decide the nature of the shape of your nails that you want. You should with cutting the basic shapes and then filing the tips to give them the shape that you want. To complete the shaping process, you are required to round the nail surfaces with the use of a buffer. This way, you can create oval, almond, pointy, square, rounded or any shape that you desire.
Using the Cuticle Remover
This is the second step in doing gel nails. Once you have got the shape that you wanted in your nails, take the cuticle remover and spread it over your nails bases. Avoid spreading it over the skin by pushing back the skin around the nail plates. This is done using a nail stick. Any debris or oil remainder should be removed using a cotton ball that has been immersed in acetone.
Base Layer Application
The base coat should be applied to the nails in a very thin layer. Unlike the standard nail polishes, gel’s base layers should be very thin. Do this very carefully without having the base layer spreading over your fingers. Give the layer twice the amount of time it is recommended for it to dry up.
Colour Application
When you are done with the base layer, ensure that you apply another very thin layer of the colour gel. It might have a streaky look but this should not worry you because it is very normal for an initial time. Give it 2 to 3 minutes and then apply a similar layer. Use this colored layer to paint the nail surfaces as well as the nail tips. It ensures that the gel does not curl off the nails. Make sure that each of the applied layers is cured under a UV nail lamp. When you are done, apply the top gel and ensure that it is cured under UV for 2 to 3 minutes. After the top gel is cured, you might realize that a sticky layer known as a tacky is left around the nails. This kind of a layer can be removed by wiping the nails using a cotton ball that has been immersed in isopropyl alcohol. Apply some cuticle oil around the nail’s base and into the skin.
Removing Gel Nails
It involves the first filing of the gel’s top layer. It should be done until the shine is completely removed. When you are done, take some cotton balls that are big enough to cover the whole nail and dip them in 100% pure acetone. Use these balls to cover all the nails. Take some tin foils and wrap them around your fingers ensuring that the cotton balls are covering the nails. Make sure to cover even the nail tips using the foils. Because using a hand that has been covered using tin foils to cover another hand might be hand, it is recommended that you work on each hand at a time.
When you are done covering the nails, allow the cover to last for around 15 minutes. Make sure that you do not raise the layer to check if the acetone is working. After the stipulated time, unwrap each of the covered nails at a time. You will notice that the gel has already begun to peel off. To remove the gel off the nails, use a cuticle stick. If some of the gel does not peel off, retry the wrapping procedure for another 15 minutes.
Conclusion
If you want to have the best kind of DND gel nails, you need to know how to do them. Make sure that you understand the application procedure and the procedure. Also, understanding the procedure to remove the gel layer is very important. This might help you when you do not have time to go to the salon or when you want to spend less on the nails.